One of the major benefits of owning cryptocurrency lies in the fact you can take it and use it with you in any country. You’re not constrained by exchange rates in any of your transactions, either. You have a straight price you pay in any part of the world. Though, acquiring it may vary from country to country.
Purchasing Dash from India
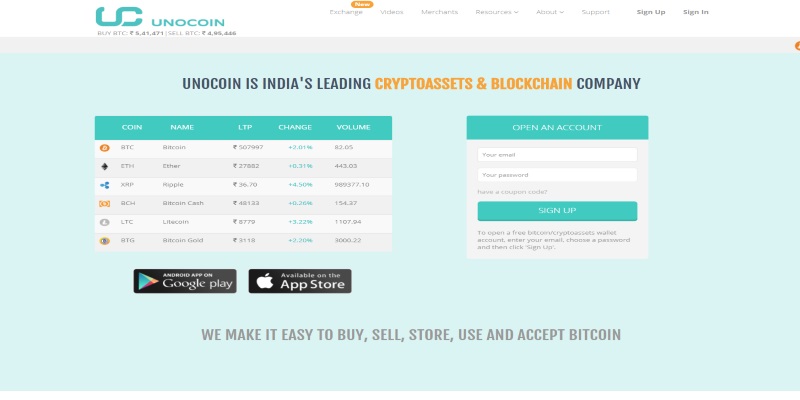
If you’re from India you may wonder how you can acquire Dash. The process takes a few extra steps, but it shouldn’t take up your entire day. For example, you’ll have to purchase Bitcoin (BTC) or Ethereum (ETH) first. You’ll use that cryptocurrency to exchange for Dash, as you cannot acquire it using any fiat currency.
Though, before you start diving into the process of getting your Dash, you need to decide on a wallet first. You want to do this first so you don’t spend too much time leaving your tokens on an exchange website. Many cryptocurrency investors recommend this since it leaves their tokens more vulnerable to hackers on an exchange website.
Here’s a quick list of recommended Dash wallets for you to choose from:
All of the choices above come with varying benefits. DASH Core operates solely on a desktop, however, it was created by the Dash development team as their main wallet. This wallet comes with additional features, like PrivateSend and InstantSend. You can also sync your wallet with a smartphone application, though you can only use InstantSend from this program. A downside to this wallet lies in the amount of hard drive space you need to install it. Since DASH Core was created by the development team, it connects directly to the Dash blockchain and demands more space.
If you’re new to cryptocurrency, the Jaxx wallet align more closely with your experience. The developers behind the wallet wanted to allow anyone to use their wallet, making their user interface extremely accessible. While you can download this wallet to your desktop, you do not connect to the Dask blockchain. This takes up far less hard drive space, however, you do not have the InstantSend or PrivateSend capabitlies. You can download an application to your smartphone to sync with your wallet.
Of the three wallets feature, the Ledger Nano S comes with the highest level of security. Unlike the other wallets, this one lets you use a physical device to track all of your information. It works similarly to a flash drive where you plug the device into your download to download all of your wallet’s information to the Ledger. A potential hacker would need to physically hold the Ledger in their hand to gain access to your account. Additionally, the Ledger Nano S costs 79.99 €.
Once you’ve chosen the wallet you want to use, you’re ready to move forward to purchase Dash!
Create Exchange Account
To start your journey you need to go to an exchange website where you can trade your Indian Rupees (INR) for BTC or ETH. Here is a list of recommended websites for you to go to and create an account on:

Any of these services should serve you well. When you arrive to your desired website, sign up for an account. They normally have you go through a two-step authentication process with creating as password and sending a code to your smartphone. After, you will need to verify the account by confirming it through an email. You will have to accept this verification email message prior to uploading any INR to your account.
Upload INR to Exchange for BTC or ETH
Once verified, you can enter in the type of payment method you want to use on the account. This can vary from your bank account to a debit or credit card. Following this, upload the amount of INR you want to exchange for the appropriate amount of BTC or ETH. This amount varies based on the current market.
Due to the fluctuating cryptocurrency market, make sure to spend time researching how much Dash you want to purchase. When you know the amount of Dash you want to start out with, research how much BTC or ETh you’ll need to exchange for it. This tells you how much INR you’ll want to upload to your exchange account. Don’t immediately decide on BTC or ETH. Check on the market status of both to ensure you’re making the best decision for your investments.
Create A Cryptocurrency Account and Upload Funds
You’ve just finished with your first account. Now, you’ll need to travel over to a cryptocurrency exchange website and create a different account. Here’s a list of recommended website for you to choose from:
Creating your second account will feel extremely similar to the first one you created shortly before this. You’ll likely want to use the same email address for this account as you’ll need to verify it. Following the verification process, find the public address for your second account and return to the exchange website you bought your first cryptocurrency at. Go to the transfer panel and send your recently purchased currency to your second account. This process may take a few minutes and you’ll need to refresh your browser several times.
Exchange BTC or ETH for DASH
With your BTC or ETH successfully transferred to your second, you’re ready to focus on getting your Dash tokens.
For those who did their research at the beginning, you should know the amount of Dash you should end up with at the end. However, due to transfer fees between accounts and websites, the end result may vary. The amount of fees you should expect to pay depends on an exchange website’s policy.
You’ll have to locate Dash in the exchange menu. When you do, choose how the total amount of BTC or ETH you want to trade. The transfer should happen after a few minutes and may require you to refresh your browser several times before you see the total change on your account balance.
Send Dash To Your Wallet
You’re on to the final step! Now that you have Dash on your cryptocurrency exchange account, make sure you know the public key of your electronic wallet. You should have this written down somewhere. When you locate your public key, type it into a deposit icon on your cryptocurrency exchange account and transfer all of your Dash tokens into your wallet. You’ll want to do this as soon as possible.
After this, you’re finished! You’re now the proud owner of Dash and can now freely use it any way you like from the freedom of your wallet.
This process won’t take as long the next time you go to purchase Dash as you get to avoid creating new accounts on multiple websites. Also, make sure you check the status of the market before you take steps to make another purchase. You may find it better to use your INR based on the strength of Dash, BTC, or ETC. This information changes daily.
How Should We Feel About Wikileaks Coinbase Boycott?


