If you’re serious about investing in a cryptocurrency, you want to locate the best exchanges that accept your currency at the lowest prices. For Canadians interested in purchasing Ripple (XRP) using their CAD, you’ll find a few options available to you where you have the chance to save a little money when you move your currency around.
In this article you will see the longer steps required to acquiring Ripple than many would expect to go through when they wish to invest in a cryptocurrency. However, these steps should prove to give you the most return as you shift your currency around from multiple exchanges and into your cryptocurrency wallet.
What makes it a longer process? Most exchanges will not let you directly purchase Ripple using your fiat currency. You will first need to purchase Bitcoin (BTC) or Ethereum (ETH) and this article details the entire process of what you need to do to end up with XRP.
For now, before you start taking steps to invest in Ripple you should make sure you pick out a wallet to hold your new currency as soon as you get it. For those new to cryptocurrency, when you collect the currency you want it’s a good practice to shift those funds off of the exchange website your purchased them from to your wallet. You want to do this to prevent anything from happening to your funds if you leave them too long on the exchange website.
What wallets work with Ripple?
You have multiple options to choose from. You can’t ask what wallet works perfectly, instead, think about how you want to use your cryptocurrency once you have it and what works best for you. Here’s a few wallets that stand out:
What makes these wallets unique from one another?
With CoinPayments, you can directly purchase XRP from their website and treat your wallet like a traditional bank account. You wouldn’t have to go through any of the exchange websites and you would only have to visit one website instead of multiple.
However, many who got involved in cryptocurrency were interested in it to avoid having to work larger banks. This may mean CoinPayments doesn’t work for everybody, especially since every transaction that happens from the website comes with a fee of 0.5% of the total payment.
Though, if this works for you, then feel free to visit CoinPayment’s website to get started and have XRP transferred directly to your account’s wallet.
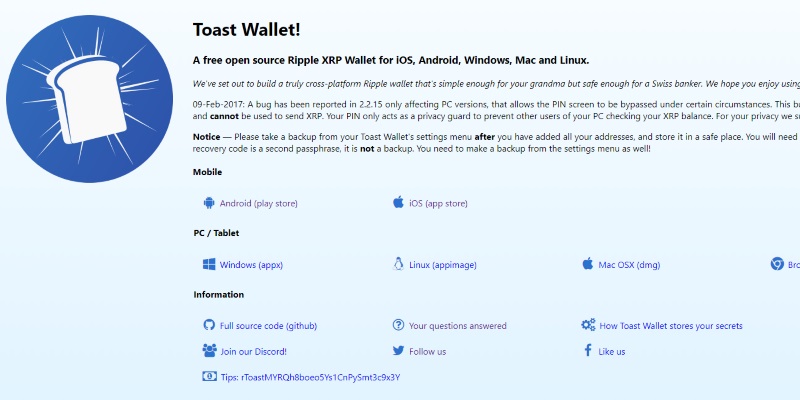
Toast Wallet works directly from your computer, where you can download the wallet information. You don’t need to worry about what operating system you use as the developers behind Toast Wallet wanted to provide their application for as many users as possible. If you find yourself more on the go and want to keep track of your wallet, you can download the Toast Wallet application to your smartphone to take with you.
For those who use the smartphone application, remain weary. With the smartphone application you turn your Ripple account into a hot wallet, which means you can easily access your funds. The same goes for hackers interested in your cryptocurrency. If you choose this option, you may want to treat the Toast Wallet smartphone application like a debit card with a limited number of funds on it and keep a majority of your funds on separate wallet. Better to keep your funds safe than feel sorry later.

The Ledger Nano S will prove the most secure among the trio listed. Unlike CoinPayments or Toast Wallet, the Ledger Nano S functions much like a flash drive and plugs directly into your computer. Once plugged in, it downloads all of your funds from your exchange account and holds onto to them. You don’t have to remain connected to the internet or the blockchain, giving your direct access and control over them.
Because you hold all of your funds on a physical device, if someone wants to attempt and take them from you they need to have that device. This makes it nearly impossible for them to take it from you without your knowledge, unless you take it with you somewhere and you lose track of it.
Though, you do need to purchase the Ledger for 79.99 €. If you’re dedicated and plan to stay with cryptocurrency for the long run, this wallet may work best for you.
Now that you’ve chosen your wallet, it’s time to start the process of getting you XRP!
How To Buy Ripple(XRP) In Canada?
Create An Exchange Account
You will want to proceed to an exchange website of your choosing and follow the steps on the website to create an account with them. When you create your account you will want to use a reliable email address. When you’ve following the steps on the website, you should verify your account by answering the message the exchange sends to your email.
Here’s a list of recommended exchange websites for you to choose from:
Each transaction that happens on these websites comes with a small fee. Those looking to get the most XRP for their CAD may want to create a Coinbase account as they have solution to those fees, which is detailed later on.
Purchasing ETH or BTC
Once verified, connect your bank account information and place the amount of CAD you’ll need to purchase the BTC or ETH you want to have to purchase your first XRP. Prior to confirming any transaction on this website, find out how much XRP you want to start off with. When you have that figure, learn how much BTC or ETH you’ll need to arrive to that amount. This way you don’t have to go through the process all over again.
Also, when you go to purchase BTC or ETH, do not immediately pick one over the other based on popularity. Make sure you check the market and ensure the amount of CAD you’re spending on your choice gives you the most XRP during the final transaction. The cryptocurrency market fluctuates enough for this answer to change on a daily basis.
When you’ve made your choice and have confirmed the purchase, refresh your browser a few times while on the exchange website. This transaction can take a few minutes to go through and you’ll want to see the balance on your account change.
Creating a Cryptocurrency Account and Transferring Funds
With your ETH or BTC eagerly awaiting on your exchange account, you need to visit a cryptocurrency website and create an account on there. The account creation process should follow the same process as the fiat currency exchange website. You will want to use the same email address you used on your first account as the cryptocurrency website will also send you a verification email after you’ve created your account.
Here’s a list of recommended cryptocurrency exchange websites for you to choose from:
If you created an account on Coinbase with the intention to pay lower fees, you will want to create your cryptocurrency exchange account on Binance. Once created, you will go to a website called Gdax, which is owned by Coinbase. Due to Coinbase owning this website you can use the same login information here. You will want to then transfer the funds on your Coinbase account to your Gdax one, and then use your Gdax account information in the next step, not your Coinbase information.
Upload ETH or BTC To Your New Account
By this point you should two accounts created: one with ETH or BTC on it, and another without it. You will want to transfer the funds from the first account your created to your second one. You can do these by locating the ‘deposit’ icon on the cryptocurrency website and use your first account’s private key address to send those funds over. Make sure to type in the exact amount of ETH or BTC you have to ensure none of it gets left behind on your first account.
This transfer can take a few minutes and you may need to refresh your browser a few times for your account balance to change.
Exchanging For XRP
With your BTC or ETH on your new account you’ve arrived to the important step: getting your XRP!

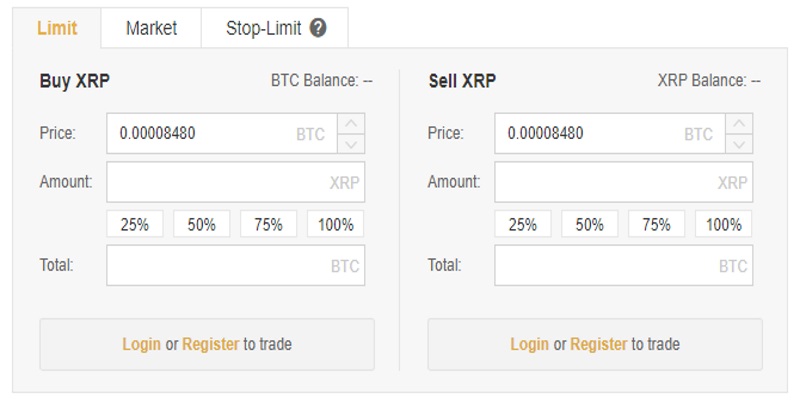
On the cryptocurrency exchange website you will want to locate the XRP section on the market. Click on the icon and then choose the ‘buy’ option. This will take you to a new section where you can choose how much XRP you would like to purchase. If you already researched how much you can get given the amount of funds on your account, you should already know this value.
When you settle on the amount of XRP, click the ‘buy’ icon and confirm your purchase. The exchange can take a few moments and you will want to refresh your browser a few times to make sure the transfer went through.
Deposit XRP Into Your Wallet
You’re almost there! The final thing you need to do is transfer your newly purchased XRP from your cryptocurrency exchange account into your wallet.
You can do this by connecting your wallet’s public address to your exchange account and transfering all of your funds over. This process may take a few minutes. Once they arrive, you should receive an email about the transfer and your wallet should have a new balance.
You’re done! You’re the proud owner of Ripple and now you can use your newly purchased cryptocurrency however you like.
If you plan to purchase more, you’ll need to undergo the same process once again. Always make sure to check the market before you start making transfers to ensure you take your CAD as far as it can take you with your investments.


