

One of the biggest notches against Bitcoin lies in the fact that when a person learns the public address of your account they can follow all of the transactions made from that digital location and, with a little effort, discover the amount on the account. This level of transparency can lead many who want to get into cryptocurrency to find a more secure alternative coin to use.
One of the newer alternative coins called Zcash, which uses ZEC tokens, deals with this issue by having two sets of code: a code named ‘t’ and the other named ‘z’. The ‘t’ code stands for the transparent addresses, which follows the same protocol as the Bitcoin does. Everyone can freely see this code and every Zcash owner have the opportunity to use this or go with the z code, also known as a shielded address.
With a shielded address, all of the transactions going on between accounts on Zcash’s blockchain appear as a private line of code. While someone can see the amount of money getting exchanged, they cannot see how much money gets sent to specific accounts or how much each account receives. Additionally, accounts using the transparent addresses can send money to accounts that default to a shielded address, and vice versa.
Now, the big question. How do you purchase Zcash? What’s the quickest way to go about it?
Normally for bigger cryptocurrencies, like Bitcoin (BTC) and Ethereum (ETH), you use a fiat currency on an exchange website and directly purchase your tokens. Zcash requires for you to purchase one of the larger cryptocurrencies first and then exchange those tokens for ZEC. This process does take a little more time to set up, however, the transfer times make up for it.
The steps detailed in this article will lead you down the path to purchasing Zcash in the quickest time possible. The websites you go to and create these various accounts on will request you place an email with that account, so make sure to have a reliable one available for your use.
Prior to starting this process you’ll want to locate a suitable wallet that works with Zcash. Don’t know where to start? Here’s a few wallets available for Zcash you can choose from:
Each of the four listed do something a little bit different and stand out from one another.
You can download the official Zcash Client from the company’s website. Originally, this only operated on Linux, but the cryptocurrency’s community did a little tweaking and created alternative versions for those who use a Windows or Macintosh operating system. The Zcash Client wallet also serves as a full network node and connects your computer directly to the blockchain.
While the Zcash Client takes up a good chunk of hard drive space and takes a little technical know-how to setup, it allows you to seamlessly use the transparent address and the shielded address from your account. Not every wallet available on the market can do this.Because it takes a little more effort to properly install this program, Zcash created a video on their YouTube page you watch to make the process much easier.
On the other hand, Cryptonator does not require you to download a client to your computer. Everything happens from your browser. The company provides bank-level security for all accounts and allow you to hold a variety of cryptocurrency from a single account. Cryptonator also created an application for you to connect your account to your smartphone for you to view if you can’t spend too much time at your desktop.
A big problem many veteran cryptocurrency investors may have with the website is the fact they withhold an account’s private key from all users and hold this information on their servers. This means you do not have direct control over your account the same way other wallets allow users to have. This may serve as the deal breaker for many.
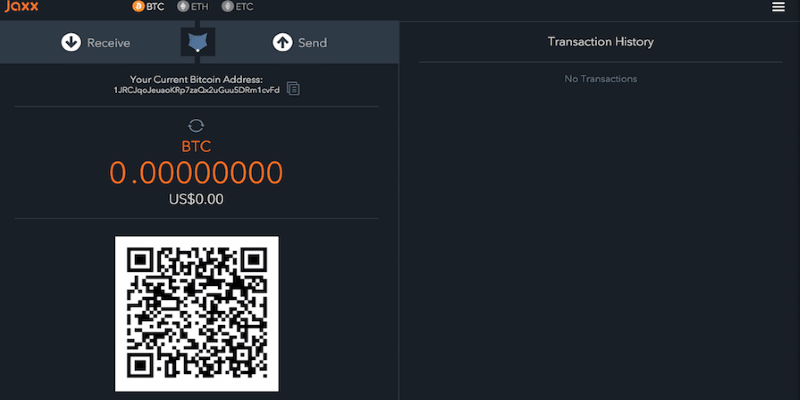
For anyone simply too busy to have a desktop wallet at all, Jaxx works from a majority of different smartphone devices and can also operate from a browser or a desktop. You choose the best way that works for you to keep track of your wallet with Jaxx.
Though, unlike many cryptocurrency wallets, the Jaxx developers have not made their code open source for their community to provide any recommendations on how to improve the application. This may lead many Zcash owners to choose to treat this application like a hot wallet, meaning they it works like a debit card with a limited amount of funds on it. If anything happens on the service, a majority of their finances remain safe elsewhere on an account in cold storage.
This brings up the last wallet, the Ledger Nano S. This one stands above the others as the only wallet you can hold in your hands. The device works similarly to a flash drive where it plugs into your desktop of choice, downloads your funds, and keeps them secure on the device. By using this wallet, the only way a hacker can gain access to your account is by directly holding onto the device. Even then, a hacker still requires your Ledger’s four-digit pin.
The drawback to this wallet is the device’s price tag of 79.99 €. Those just starting out with cryptocurrency many not want to pay for this immediately, especially if they don’t know if they want to stay with it for the long run. Plus, the wallet does not work with a Zcash account’s shielded address. Any transaction done from this device must happen through the transparent address and removes a layer of privacy found with the other wallets.
If any of the above choices don’t sit well with you, never fear. The Zcash community created a list showing numerous wallets for you to pick out.
Now that you’ve chosen the wallet you want to use it’s time to focus on acquiring Zcash!
Create an Exchange Account
You’ll want to pick out an exchange website to go to and create an account with them. Don’t know which to choose? Here’s a list of recommended exchange website for you to choose from:
When you’ve chosen the website you’d like to use, proceed to creating your account. All of the steps from any website you use should look the same. You will need to connect your newly created an account to an email. When you’re finished, the website should send a message to your email asking you to verify the account. This should take a few minutes to complete and you should make sure you’re verified before proceeding to the next step.
A quick note: those looking to avoid having to pay additional fees from their transfers should create an account with Coinbase. The website have a solution to this, which is detailed later on.
Purchasing ETH or BTC
After you’ve properly verified your account, connect the bank account you want to use and place the amount of fiat currency you want to use to purchase ETH or BTC. Before you make any transfer on this website, do a little research and see how much ZEC you want to start off with. This way, you can figure out how much ETH or BTC you’ll need to buy to get to your desired amount and not have to make multiple transfers.
Additionally, don’t immediately go for ETH or BTC based on popularity. Take a quick peek at the current market price for both currencies and take the time to figure out what currency will get you the most ZEC for your fiat currency during the final transaction. The answer changes every day due to the fluctuating cryptocurrency market.
When you’ve made your decision, proceed to place the total funds you want on your exchange account and then trade those in for the cryptocurrency you’ve chosen. This transfer will take a few minutes to complete, and may require you to refresh your browser a handful of times.
Creating a Cryptocurrency Account and Transferring Funds
Right now, you should have your ETH or BTC sitting on your exchange account. In this next step you will need to go to a cryptocurrency exchange website and create an account with them. Don’t have any in mind? Here’s a small list of recommended websites for you to go to:
Any of the above choices should serve you well. The means of creating an account should feel similar to making one from the first website you visited. Follow the necessary steps and use the same email you’ve already used as you will need to verify this account before you can transfer your ETH or BTC funds over.
If you created your first account with Coinbase with the intention of paying lower fees, you will want to go to Binance and create an account with them. When you’ve finished with that, proceed to Gdax.com and sign in using the same account information you used on Coinbase. You can do this due to Coinbase owning Gdax. From there, transfer the funds from your Coinbase account to your Gdax. For the next step, you will want to use the information for your Gdax account, not your Coinbase information.
Upload ETH or BTC To Your New Account
At this point you should two accounts at your disposal: the first one you created with ETH or BTC on its balance and the new one. You want to transfer the funds from your first account to your second one.
Locate the ‘deposit’ icon on the cryptocurrency website and type in the amount you want to transfer over. Make sure you type out the exact total as to avoid leaving a small portion of your funds behind. Finally, type in the private key address of your first account to confirm transfer and you should have those funds in your new account in a matter of minutes. The new balance may take a little time to complete and you may need to refresh your browser a few times to confirm it.
Exchanging for ZEC
During this stage you can forget about the first account and focus entirely on your cryptocurrency exchange one, which means you’re almost finished!
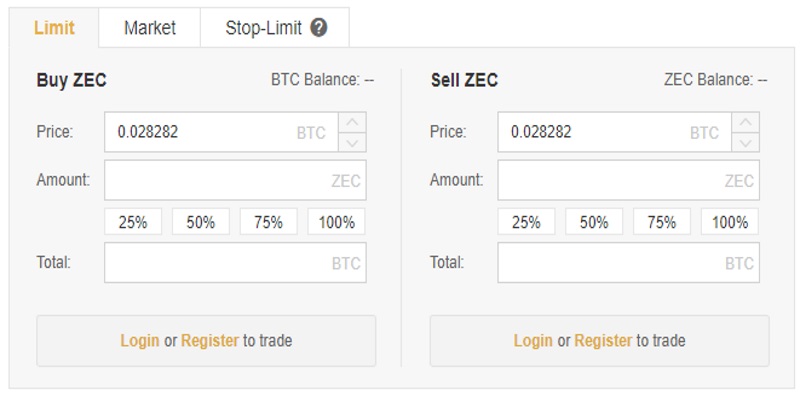
On the cryptocurrency exchange locate ZEC on the market menu. Click on this icon and your browser should take you a page detailing the cryptocurrency’s overall market status. Locate the ‘buy’ option and you will go to a transaction page where you choose much ZEC you want to purchase. If you know how much you can purchase given the amount of ETH or BTC you have on your account, type in this number and the transaction should automatically calculate the information.
After reading through all of the information listed there, feel free to confirm the purchase. Similarly to the previous times you were transferring funds between accounts, this transaction will take a little bit of time. Make sure to refresh your browser a few times to confirm the new balance on your account.
Deposit ZEC Into Your Wallet
You’re in sight of the finish line!
The last thing you need to do is transfer your newly purchased funds over to your wallet. Use the public key address with your exchange account and send over all your newly purchased ZEC.
Many cryptocurrency investors do this out of habit. They recommend this to avoid potentially losing any funds they have tied to an exchange account in case the website becomes compromised by hackers.
Congratulations! You’re the proud owner of ZEC and can use the cryptocurrency however you like. If you wish to purchase more ZEC in the future, the process you should take you less time now that you don’t have to create any accounts. However, prior to every transaction make sure you take the time to do a little research on the cryptocurrency market to make the best investments with your money.
Ethereum or Ethereum Classic? What’s the Difference and Which is the Better Investment?
