

Normally when you expect to purchase a new cryptocurrency, you have to to create an account on an exchange website, use your bank account to purchase it, and then transfer it to a wallet for safekeeping. However, for newer currencies it doesn’t always work this way. You have to take a few extra steps to acquire the cryptocurrency you want.
That’s the case for Stellar, XLM.
You have to go through a few additional steps if you want to add Stellar’s tokens, lumens, to your cryptocurrency wallet. You have to purchase Bitcoin (BTC) or Ethereum (ETH) first using USD or another currency and then exchange your newly purchased cryptocurrency into Stellar from a cryptocurrency exchange website.
It may seem a bit overwhelming if you look at the steps laid out, but it should only take a little over fifteen minutes, depending how long the transfer times take for currencies on the exchange websites.
Not all wallets allow accounts to hold lumens. What wallets accept and hold XLM? Here’s a few wallets for you to choose from:
- Ledger Nano S – hardware wallet
- StellarTerm – desktop wallet
- Lobstr – mobile application wallet
Each one comes with their own advantages and disadvantages.
Of the trio, the Ledger Nano S may provide the most optimal security. It works and looks similarly to a flash drive, plugging into your computer to download and handle all of your lumens. However, this is a hardware device and something you carry around with you much like a real wallet. It also demands a high startup cost of 79.99 €. Though, this means if you have all of your currency stored on the device, no one can hack your account unless they physically hold the device. If you plan to stick with cryptocurrency for a long time, this may suit you best.
With StellarTerm you can send, receive, and trade your lumens with other users from the comfort of your desktop. The application works for desktops using Windows, Linux, or a Mac. The security information for the wallet gets stored on a file on the desktop, which means the security of the account ties into the security measures you have on your computer. You keep your computer safe, you keep your lumens safe.
For those interested in using Lobstr due to its convenience of working on a smartphone, stay on your guard. This mobile application allows you to take your Stellar wallet with you wherever you go, however, these have the highest security risk. If you plan on using Lobstr, it may serve you best to keep a limited amount of XLM attached to this account and treat it like a debit card with a majority of your funds withheld on the Ledger or on another desktop wallet. You can download Lobstr from Google Play or the Apple store.
If none of these three choices feel compatible to you, feel free to browse the eleven wallets the Stellar development team have featured on their website.
When you’ve chosen the wallet you want to use, all Stellar owners must hold at least 20 XLM on their account at all times. This rule was created to prevent hackers from owning multiple wallet accounts and using those accounts to flood the Stellar network with pointless transactions, intended to perform a DDoS attack.
For those who use Ripple, this rule may sound familiar. Stellar was created by one of the Ripple co-founders and developers, thus they implemented the same rule to protect their website and their network.
Now that you have your Stellar wallet created, it’s time to start the process of getting XLM into your wallet!
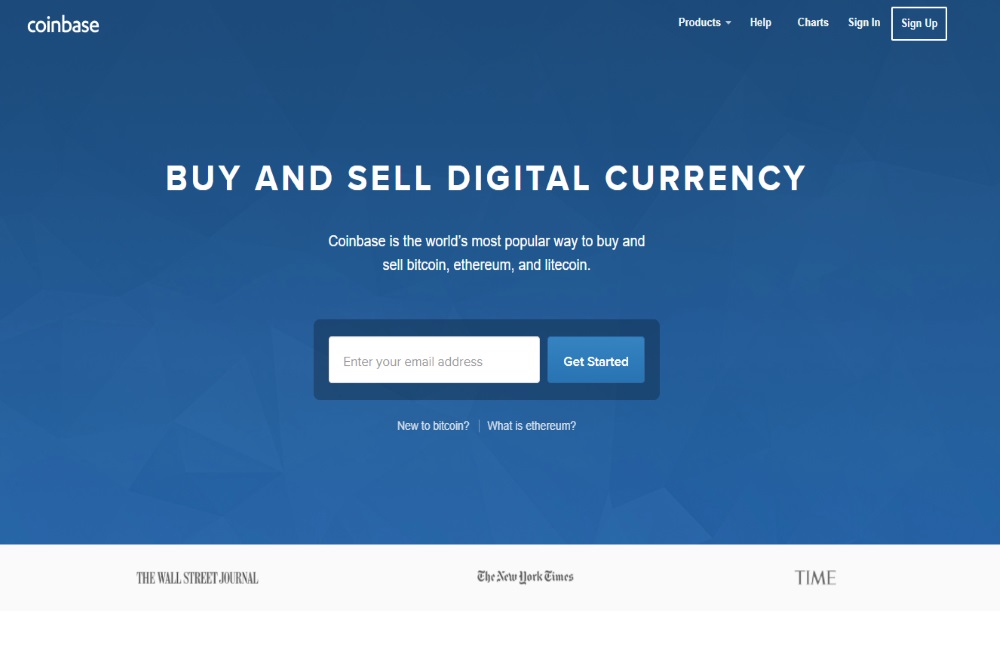
Create An Exchange Account
Proceed to a exchange website of your choosing and follow the steps on the website to create an account. You’ll have to provide the account with a reliable email address. The website should send a verification message to the email you attached to your account. When you have it verified, you’re ready to connect your bank information to your exchange account.
Here’s a list of recommended exchange websites for you to choose from:
Purchasing BTC or ETH
When your bank information connects to your account, purchase the cryptocurrency you’d like to use. Do not immediately lean towards one over the other due to how much the market fluctuates. ETH may have a better day than BTC and you can acquire more lumens because of this.
If after your purchase you do not see the funds have arrived to your account, you may want to refresh your browser a few times to prove the transfer successfully went through.
Creating A Cryptocurrency Account And Transferring Funds
This website works the same as the previous exchange website, however, instead of using a fiat currency here you’re going to utilize your recently purchased cryptocurrency as this website specializes in exchanging cryptocurrencies. Because the two exchange websites work the same, you’ll follow the same process as you did when you created your other account two steps ago. You will likely want to use the same email, too, and verify your account before moving forward.
Here is a list of recommended cryptocurrency exchange websites for you to choose from:
When you receive the email to verify your account, you’ll want to send in your funds from the first account as soon as possible. You can withdraw these funds directly into your new account by providing the address of the first account and detailing how many funds you want to send. I recommend sending all of the funds you purchased as you risk losing these funds if they remain on any exchange website for long.
Purchase XLM
Now that you have your funds on your new account, go to the website’s main page and located XLM. Choose the ‘buy’ icon and you’ll get transferred to a page where it asks you how much BTC or ETH you’d like to use to buy XLM. This transaction window will clearly display how much XLM you will get based on the price you’re going to use.
When you’re satisfied with the amount of XLM you’re going to receive, accept the trade and the funds should make their way over to your account. You may need to refresh your browser several times before they show up on your account balance with your BTC or ETH no longer there.
Transfer Lumens To Wallet
You’re almost there. You don’t want to leave your lumens on the exchange website for long as these funds can become compromised if left alone. As soon as the funds arrive to your account, connect your wallet to the withdrawal section of the website and send them through. It may take a few minutes for them to transfer over. When they do, you’ll receive an email and see the funds securely sitting on your wallet’s balance feed.
You’re done! You did it. You’re the proud owner of Stellar and can now use your newly acquired lumens how ever you like. Also, remember to always keep at least 20 XLM available on any your wallet.
